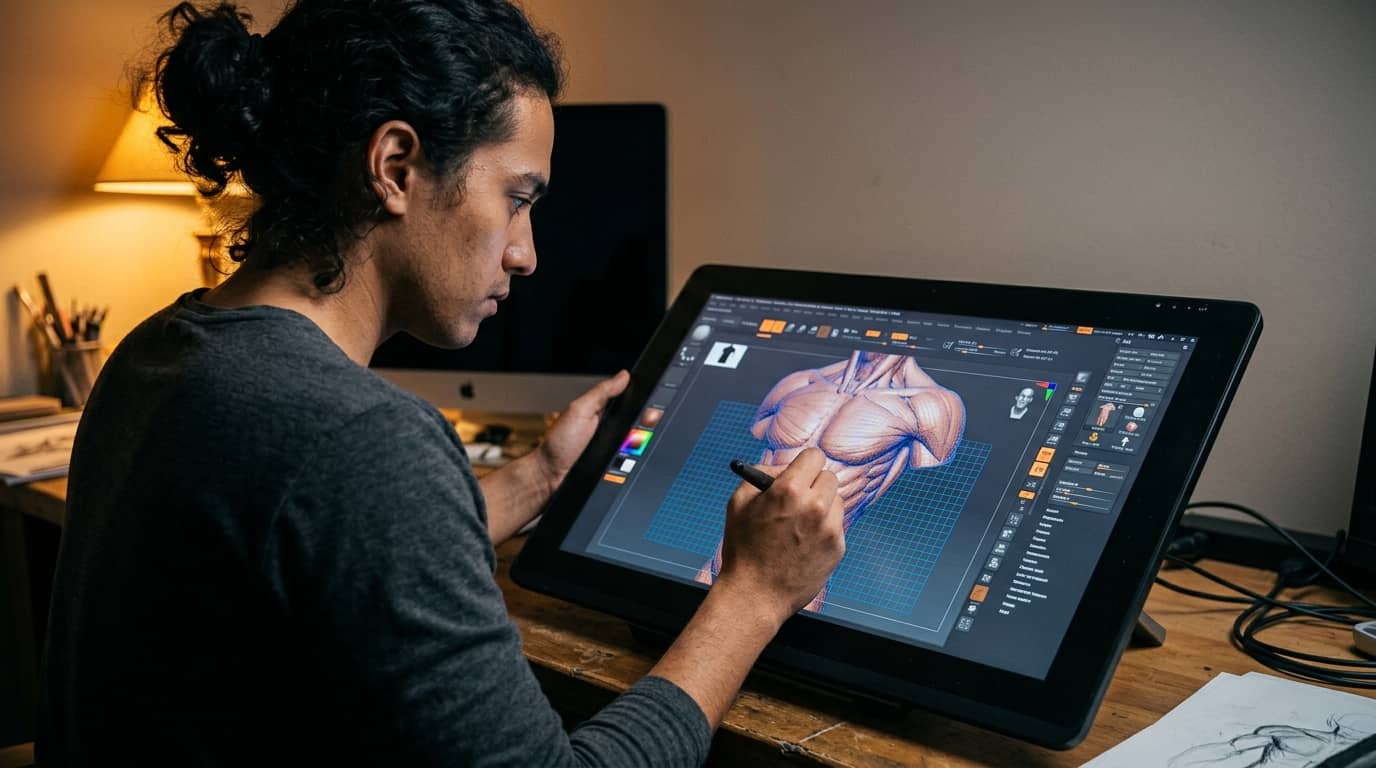
3D Character Creation Course
Master the complete 3D character creation pipeline, from concept and sculpting to rigging and real-time engine presentation. This course covers every stage professionals use in games and film production. Build a portfolio-ready character that proves your skills to studios and clients.
What you will learn:
You will learn how to sculpt detailed human anatomy, retopologize high-poly meshes into game-ready assets, and bake and paint PBR textures that hold up under any lighting condition. The course covers hair and clothing creation, full-body rigging, skin weight painting, and facial blend shapes. You will also integrate finished characters into a real-time engine, set up professional lighting, and produce a polished turntable render for your portfolio. Supplementary modules cover stylized character art, creature design, AI-assisted tools, and career development strategies.
How you study in a practical way 3D Character Creation Course
How you practice 3D Character Creation Course
For companies who want to train their team
With Dedika for businesses, the course includes exercises and examples tailored to your own business and the way your company needs.

Course content
8 Chapters • 38 LessonsDuration between 4 and 360 hours (you decide)
Chapter 1HideHide detailsSee detailsFoundations of 3D Character Art
Foundations of 3D Character Art
Lesson 1 • Industry Pipeline Overview
Maps the full character art pipeline from concept to game engine. Students understand each stage's deliverables and how departments hand off assets.
Lesson 2 • Understanding 3D Space and Geometry
Covers vertices, edges, faces, normals, and coordinate systems. Establishes spatial reasoning essential for every modeling task ahead.
Lesson 3 • Reference Gathering and Art Direction
Teaches sourcing and organizing visual reference for characters. Strong reference boards directly improve anatomical accuracy and design consistency.
Lesson 4 • Software Interface and Navigation
Introduces viewport navigation, hotkeys, and workspace customization. Efficient navigation reduces friction in all subsequent modeling sessions.
Chapter 2HideHide detailsSee detailsHuman Anatomy for Character Artists
Human Anatomy for Character Artists
Lesson 1 • Head and Facial Anatomy
Breaks down skull structure, facial muscles, and feature placement. Facial anatomy knowledge is critical for expressive, believable character heads.
Lesson 2 • Skeletal Structure and Proportions
Covers major bones, landmark points, and classical proportion systems. Accurate skeletal knowledge prevents common proportion errors in sculpting.
Lesson 3 • Hands and Feet Anatomy
Details the complex bone and tendon structures of hands and feet. These extremities are high-scrutiny areas that define character quality.
Lesson 4 • Muscle Groups and Surface Form
Examines primary muscle groups and how they create surface topology. Understanding muscle origin and insertion guides believable form sculpting.
Chapter 3HideHide detailsSee detailsDigital Sculpting Fundamentals
Digital Sculpting Fundamentals
Lesson 1 • Sculpting Software Setup
Configures brushes, symmetry, and subdivision levels for efficient sculpting. Proper setup prevents technical bottlenecks during creative work.
Lesson 2 • Secondary and Tertiary Form Development
Adds muscle planes, surface landmarks, and fine anatomical detail progressively. This layered approach mirrors professional sculpting discipline.
Lesson 3 • Sculpting Hands and Feet
Translates hand and foot anatomy into detailed sculpted forms. Completing extremities finalizes the full-body sculpt milestone for this chapter.
Lesson 4 • Head and Face Sculpting
Applies facial anatomy knowledge to sculpt a believable character head. The head sculpt integrates all prior anatomy lessons into a single focused exercise.
Lesson 5 • Primary Form Blocking
Establishes large silhouette shapes before adding detail. Blocking in primary forms ensures correct proportions before committing to fine work.
Chapter 4HideHide detailsSee detailsRetopology and Low-Poly Mesh Creation
Retopology and Low-Poly Mesh Creation
Lesson 1 • Polygon Budget and LOD Planning
Introduces polygon count targets for different platforms and LOD strategies. Budget awareness ensures assets meet production requirements from the start.
Lesson 2 • Manual Retopology Workflow
Demonstrates placing polygons directly over the sculpt surface by hand. Manual retopology gives artists full control over edge flow at critical joints.
Lesson 3 • Retopology Principles and Edge Flow
Explains why topology matters for deformation and rendering performance. Edge flow rules learned here govern every retopology decision in the chapter.
Lesson 4 • Automated Retopology Tools
Covers auto-retopology software and when to use it versus manual methods. Knowing tool limitations helps artists choose the right approach per asset.
Lesson 5 • UV Unwrapping for Characters
Teaches seam placement, unwrapping methods, and UV layout optimization. Clean UVs are a prerequisite for accurate texture baking in the next chapter.
Chapter 5HideHide detailsSee detailsTexture Baking and PBR Texturing
Texture Baking and PBR Texturing
Lesson 1 • Baking Workflow and Error Fixing
Walks through a full bake setup and common artifact troubleshooting. Artifact-free bakes are essential before any texturing work begins.
Lesson 2 • Baking Fundamentals
Explains normal, ambient occlusion, and curvature map baking concepts. Baked maps are the foundation that all subsequent texture painting builds upon.
Lesson 3 • Skin Texturing Techniques
Applies PBR principles specifically to human skin with subsurface scattering. Convincing skin is the most scrutinized texture on any character asset.
Lesson 4 • PBR Material Theory
Covers albedo, roughness, metalness, and specular workflows in PBR. Understanding PBR physics ensures textures look correct across all lighting conditions.
Lesson 5 • Clothing and Hard Surface Texturing
Textures fabric, leather, and hard material surfaces on character costumes. Material variety across a character demonstrates full PBR texturing competency.
Chapter 6HideHide detailsSee detailsCharacter Hair and Clothing Creation
Character Hair and Clothing Creation
Lesson 1 • Grooming and Styling Hair
Covers grooming tools to shape, clump, and style hair strands. Grooming skill determines whether hair reads as natural or artificial in renders.
Lesson 2 • Accessories and Hard Surface Attachments
Creates belts, armor pieces, bags, and other character accessories. Accessories complete the character's visual story and test hard surface skills.
Lesson 3 • Cloth Simulation and Sculpting
Uses simulation and manual sculpting to add natural fabric folds. Believable cloth folds are a key indicator of professional character art quality.
Lesson 4 • Clothing Modeling Fundamentals
Models fitted garments directly over the character body mesh. Proper clothing topology ensures clean deformation during animation.
Lesson 5 • Hair Creation Methods Overview
Compares card-based, strand-based, and simulation hair techniques. Choosing the right method for the target platform is a core production decision.
Chapter 7HideHide detailsSee detailsRigging and Skinning for Animation
Rigging and Skinning for Animation
Lesson 1 • Skeleton Creation and Joint Placement
Places joints at anatomically correct positions to mirror real skeletal movement. Correct joint placement is the single most important factor in rig quality.
Lesson 2 • Facial Rig and Blend Shapes
Creates blend shape targets and facial controls for expressive animation. Facial rigging enables the emotional performance that brings characters to life.
Lesson 3 • Forward and Inverse Kinematics
Explains FK and IK systems and when each is appropriate for character rigs. Combining FK and IK gives animators the flexibility needed for complex motion.
Lesson 4 • Control Rig and Deformer Setup
Builds animator-friendly controls and corrective deformers over the skeleton. A well-organized control rig speeds up animation and reduces technical errors.
Lesson 5 • Skin Weight Painting
Paints vertex weights to define how each joint influences the mesh. Smooth, artifact-free deformation depends entirely on accurate weight painting.
Chapter 8HideHide detailsSee detailsReal-Time Engine Integration and Presentation
Real-Time Engine Integration and Presentation
Lesson 1 • Performance Optimization Techniques
Applies LODs, texture atlases, and draw call reduction for runtime performance. Optimization skills are required for characters deployed in shipped products.
Lesson 2 • Exporting Assets for Real-Time Engines
Covers FBX, glTF, and texture export settings for engine compatibility. Correct export prevents material and rig data loss during engine import.
Lesson 3 • Material Setup Inside the Engine
Recreates PBR materials using the engine's native material editor. Engine-side material setup ensures textures respond correctly to real-time lighting.
Lesson 4 • Portfolio Presentation and Turntable Render
Produces a turntable animation and beauty renders for portfolio submission. A polished presentation is the final deliverable that demonstrates full pipeline mastery.
Lesson 5 • Real-Time Lighting for Characters
Sets up key, fill, and rim lighting rigs to showcase character materials. Lighting knowledge separates professional portfolio renders from amateur screenshots.
Your valid completion certificate
This course is for you:
Aspiring game artists: eager to break into the industry with a strong portfolio.
Hobbyist 3D modelers: ready to move beyond basic objects into full character work.
Illustrators and concept artists: wanting to translate their designs into three-dimensional assets.
Animation students: seeking hands-on rigging and deformation skills for character work.
Career changers: transitioning into games or film from unrelated creative backgrounds.
Indie game developers: needing to produce their own characters without outsourcing the work.
What our students say
Your classes are perfect. I purchased the one-year package and finally have the opportunity to follow various topics of my interest without needing to change platforms... I thank you for everything you do, I've already recommended you to other people...

I like how the lessons are straight to the point and how I can switch chapters and skip content I don't need.

I like the content and the way videos are presented and transcribed, which speeds up the process!

The platform is fast, simple to use. The diversity of content and complementary videos really help with learning.

Top trainings


FAQs
Who is Dedika?
Is the certificate valid in the Philippines?
Are the courses free?
What is the course workload?
What are the courses like?
How do the courses work?
What is the duration of the courses?
What is the cost or price of the courses?
What is an EAD or online course and how does it work?
PDF Course